|
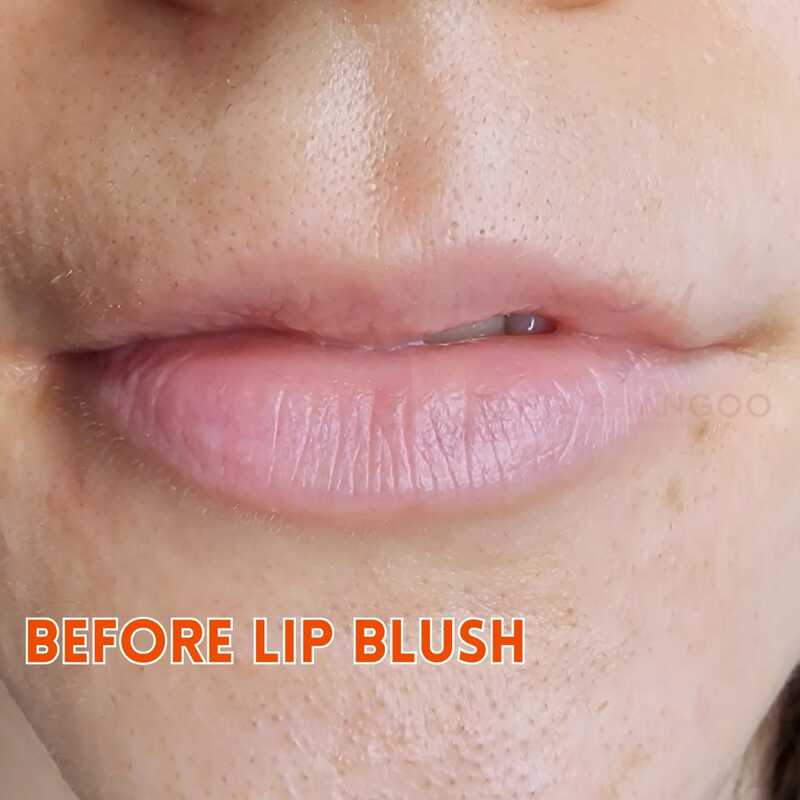
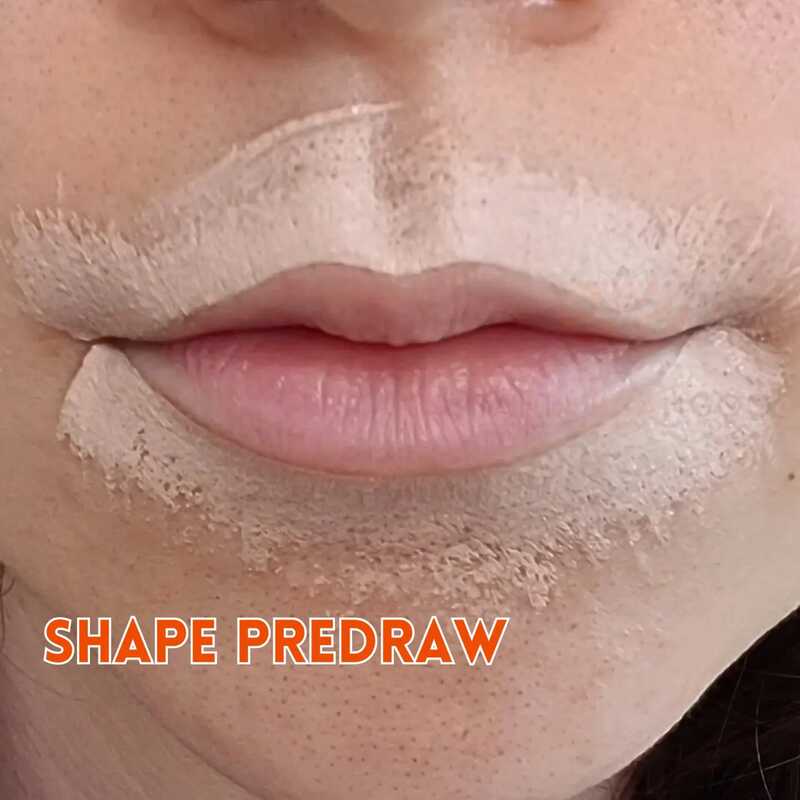
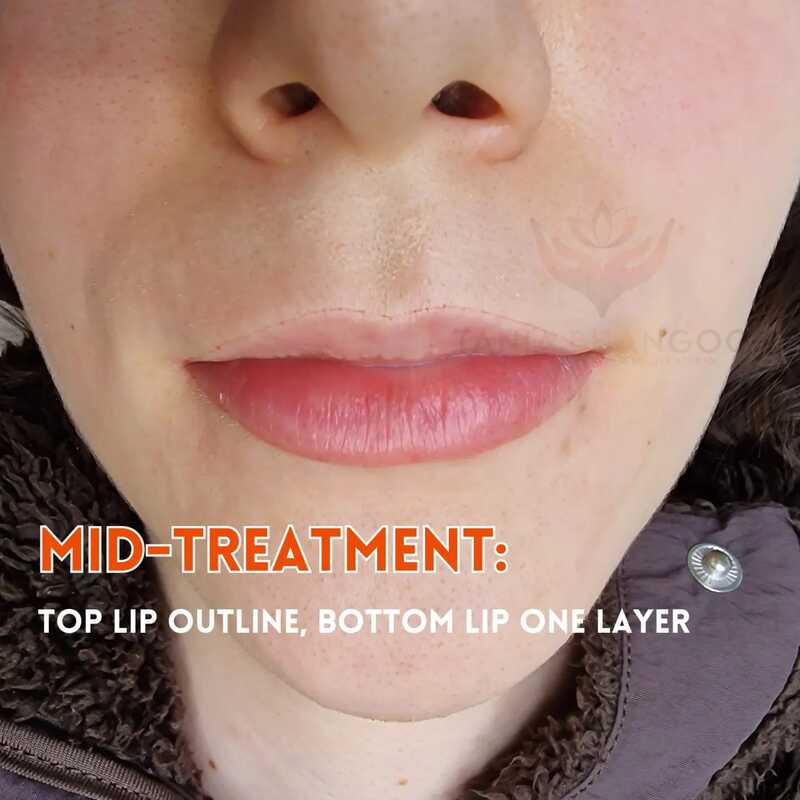
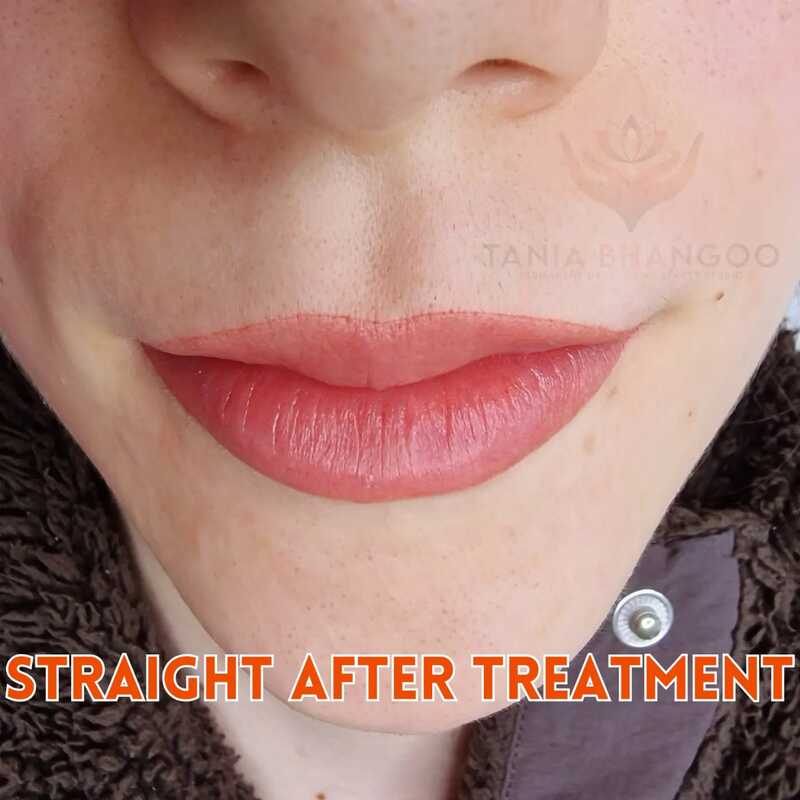
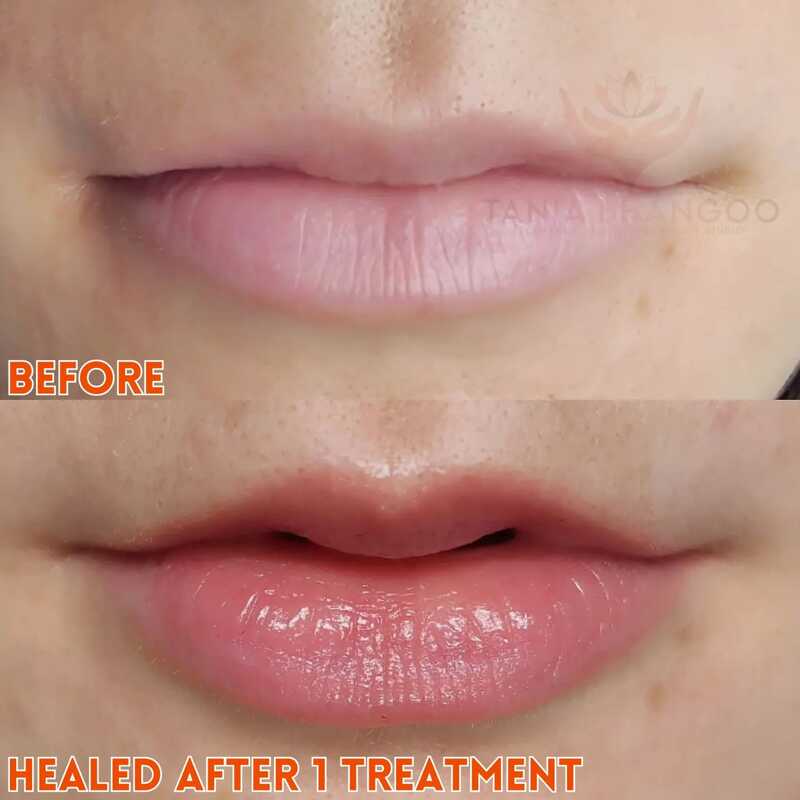
I want to take you behind the scenes of this lip blush transformation! Swipe to witness the magic unfold!
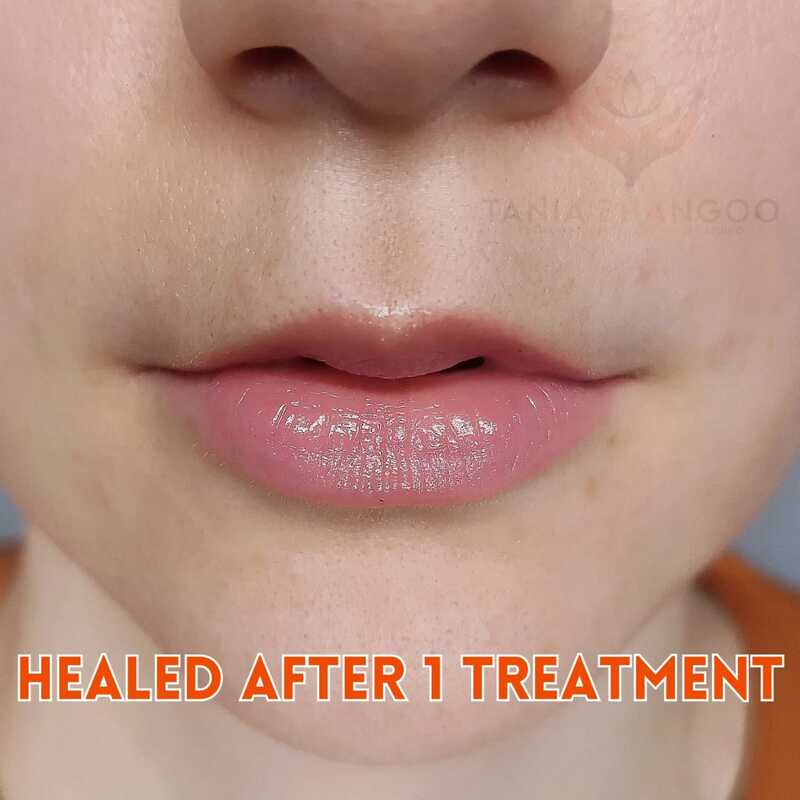
1. Before: Starting with my client's natural lip canvas – a beautiful blank slate awaiting a touch of color. 2. Shape: I began by mapping out the perfect contours, like creating a personalized masterpiece for my client's unique features. 3. Outline Time: Precision is key! I meticulously outlined the edges, creating a road map for the perfect lip shape. 4. First Coat: Time to add a subtle pop of color! The first layer goes on, adding a subtle flush to the lips. 5. Second Coat: The second layer adds depth and richness, giving the lips that extra 'wow' factor. 6. Straight after: Witness the stunning transformation! There is some swelling to the lips, and the colour looks brighter initially. Swelling goes down within first 24 hours, and colour fades by around 50% once healed in 4-6 days. 7. The grand reveal! It's all about healed results because this is how your permanent lip blush will look for the next year or two. Witness how natural the colour looks after healing! And yet how much difference it made The last step of permanent lip blush is touch up appointment. During this session we fill in any small lighter gaps that may have occurred during healing, and make the new colour darker/brighter/more obvious if desired. P.S. In most cases, my ladies want to make the colour slightly darker on their touch up because they get used to their new look and don't feel anxious about their lips looking too unnatural Are you thinking of having your lips blushed? Feel free to arrange a consultation where we can discuss everything and decide if lip blushing is suitable for achieving your lip colour goals. GET IN TOUCH
0 Comments
Your comment will be posted after it is approved.
Leave a Reply. |
AuthorTania Bhangoo, Permanent Makeup artist in Cambridge, Cambridgeshire Archives
December 2023
Categories |
|
2a Thoday street, CB1 3AS Cambridge |
©

 RSS Feed
